Jabber Video for iPad Settings
Cisco have dropped support for the Jabber Video for iPad app. It does not work particularly well under iOS 9 or 10 (and not at all on iOS11). Should you update your iPad’s iOS version from 8 you may find your Jabber account settings are regularly lost when you close the app. Please do not attempt to uninstall then reinstall the app. It is no longer available on the App Store. Should you manage to reinstall your previous version you may find yourself unable to use it.
Please note these problems affect iOS 9 and 10 only, not desktop installations. The main alternative for iOS users will be our browser based bridging service which allows you to make calls directly in Safari.
If you are using iOS 9/10 and find your account settings lost they can normally be enabled again. To do so…
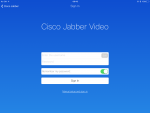
Step 1. You may see a screen like the screen-grab on the left, Fig. 1 (click for a larger images). If you do you’ll need to click on the Manual setup and sign-in link at the bottom of the screen.
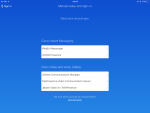
Step 2. On the next screen, Fig.2, select TelePresence Video Communications Server.
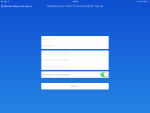
Step 3. Finally, you’ll be required to enter your username, password and server settings, Fig.3.
Once these are entered Jabber should function as before but the settings may be lost again once the app is closed.

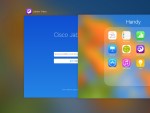
N.B. Should you be particularly unlucky and find yourself all the way back at the initial account verification page you may find yourself stuck at the checking stage, Fig. 4. To rectify this situation please close the Jabber app completely. To do so you’ll need to press the iPad’s physical home button twice in quick succession (the home button is the large, round, physical button on the front of your iPad). When you do this you’ll see a screen similar to the one on the right, Fig. 5. To close Jabber completely drag the background app upwards until it disappears. Opening Jabber once again after this should present you with the screen indicated in Fig. 1. Once you see that screen start with Step 1.
